Common Mistakes to Avoid When Using Adhesives for Tiles
07
Jan 2025
Mistakes to Avoid When Using Adhesives for Tiles
Tile installation is a skillful task that demands attention to detail, proper tools and the right materials. While adhesives are the backbone of any tile project, even small mistakes can lead to big problems, such as loose tiles, uneven surfaces, or early wear and tear. In this guide, we’ll discuss common pitfalls to avoid and share practical tips to help you achieve a long-lasting, professional finish.
1. Neglecting Proper Surface Preparation
One of the most common mistakes that people make is to avoid surface preparation. However, adhesive bonding is best achieved when the surfaces to be joined are clean, dry and flat. Contamination by dust, grease or debris in the process of installing jeopardizes the cohesive strength of the adhesive whereby the tiles may not be laid smoothly or may come off in the future.
Quick Tip: Scrub and clean the area thoroughly, fix cracks and ensure it's level before applying adhesive.
2. Using the Wrong Adhesive for the Job
Adhesives aren't one-size-fits-all. Choosing the wrong type can lead to poor results. For example:
- Cement-based adhesives are great for standard indoor tiles but might struggle with larger tiles or heavy foot traffic areas.
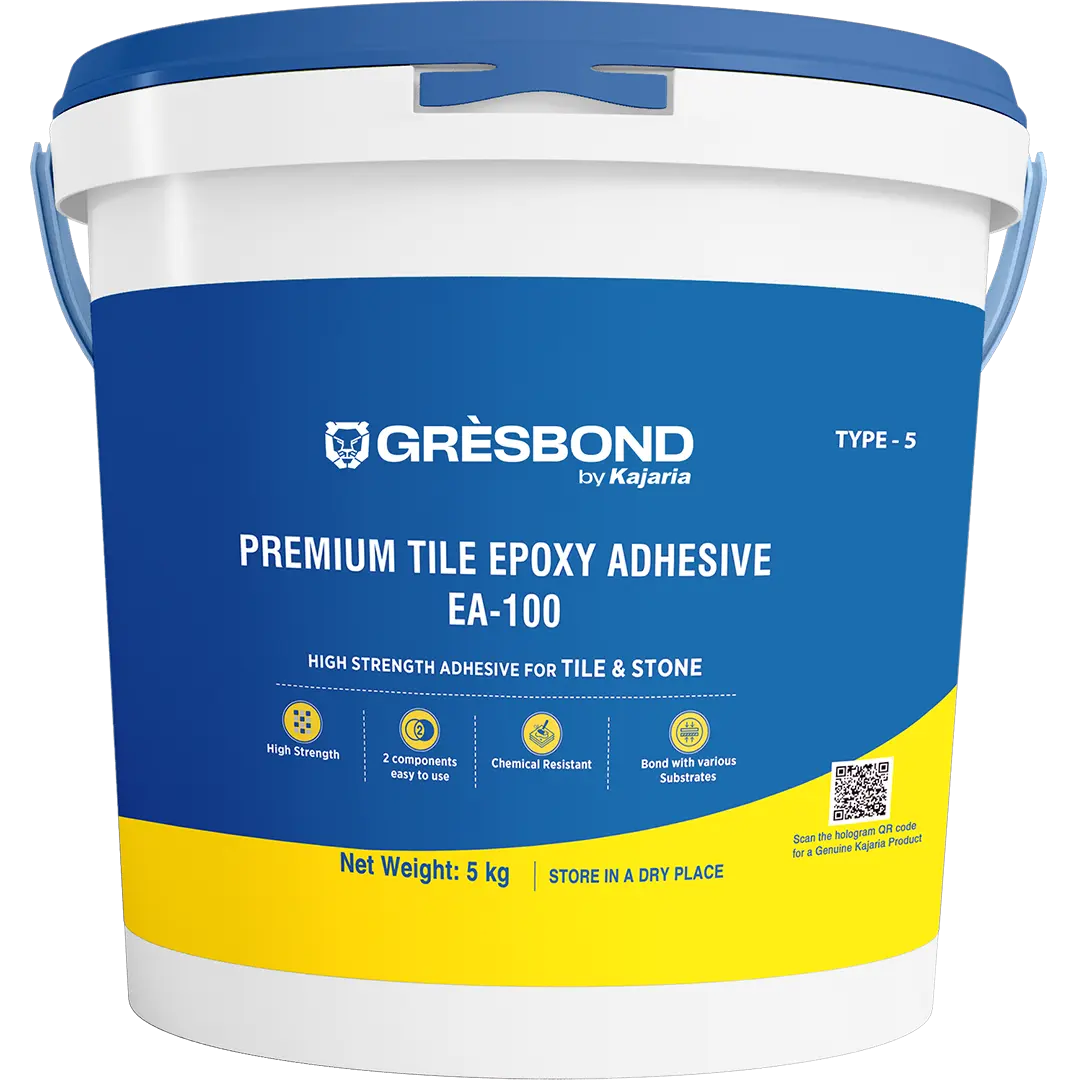
- Epoxy adhesives excel in moisture-prone areas like bathrooms and kitchens but may be unnecessary for dry spaces.
Understand your project's requirements—tile type, location and environmental factors — before choosing an adhesive.
3. Incorrect Mixing Techniques
Mixing adhesives might seem straightforward, but precision matters. Adding too much water or mixing too quickly can weaken the adhesive.
What to Do: Always follow the manufacturer's instructions for mixing ratios. Use a slow-speed mixer to ensure a lump-free, even consistency.
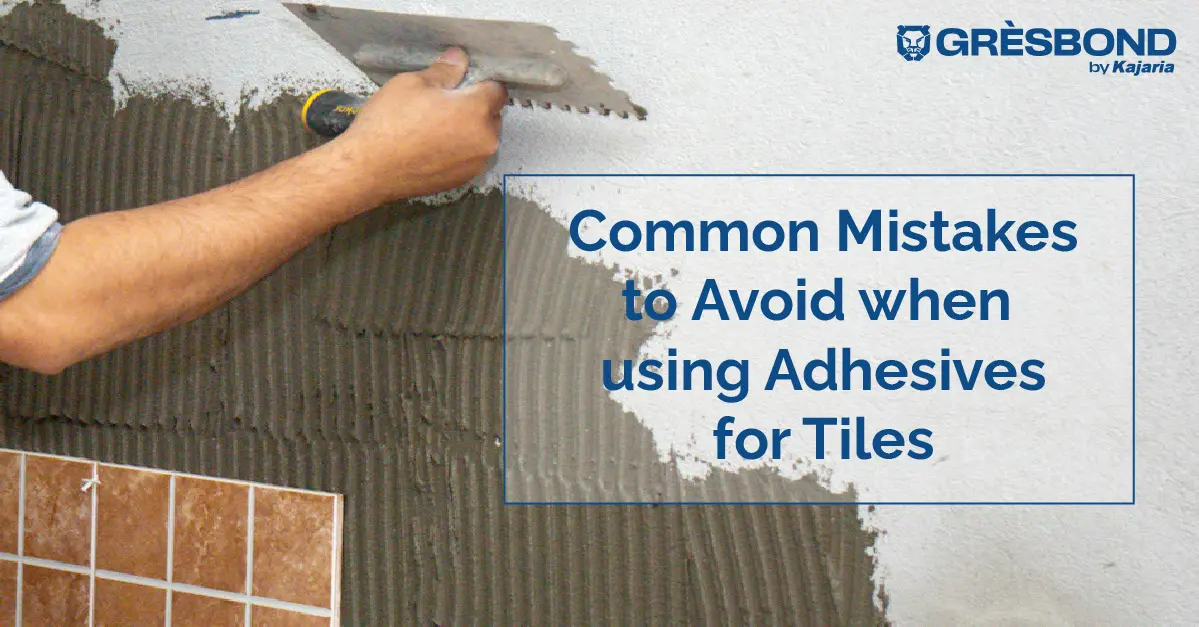
4. Uneven Application of Adhesive
A common mistake is applying adhesive unevenly, either by using the wrong tool or rushing the process. This can create hollow spots, causing tiles to crack under pressure or feel loose.
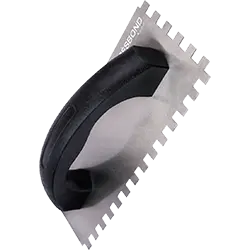
Solution: Use a notched trowel suited for the tile size and spread the adhesive evenly. For larger tiles, back butter them (apply adhesive on the back of the tile) to ensure complete coverage.
5. Ignoring the Need for Expansion Joints
Tiles, like all materials, expand and contract with temperature changes. Failing to leave space for movement can cause tiles to buckle, crack, or lift.
Best Practice: Include expansion joints every 8-12 feet, particularly in large areas or outdoor spaces exposed to direct sunlight.
6. Rushing the Curing Process
Tile adhesives are also sensitive products that have to undergo the curing and setting processes. Pressure either through grouting or walking on the tiles before the adhesive has set will hinder the bond strength.
Tip: Allow the adhesive to set for the time recommended on the packaging — usually 24-48 hours, before proceeding.
7. Overlooking Moisture Resistance
In areas exposed to moisture, such as bathrooms or kitchens, using the wrong adhesive can lead to water seeping into the substrate, causing mold or damage.
Recommendation: Choose waterproof adhesives, such as epoxy, for areas prone to spills or high humidity.
8. Using Low-Quality Adhesives
While it might be tempting to save money by opting for cheaper adhesives, this often results in poor performance. Low-quality adhesives are more likely to crack, degrade, or lose their grip over time.
Advice: Invest in trusted brands that provide consistent, long-lasting results.
9. Forgetting to Test Adhesive Compatibility
Some tiles, especially porcelain and natural stone, require specific adhesives due to their weight and non-porous nature. Using a general-purpose adhesive can lead to improper bonding.
What to Check: Confirm the adhesive is compatible with your tile type before starting the project.
Why Getting It Right Matters
With tile adhesives some mistakes are not just aesthetic in nature, they can compromise the function and performance of the surface being installed. By avoiding these pitfalls you are likely to avoid spending considerable time, money and energy in the process of producing a generally untidy and unprofessional looking work.
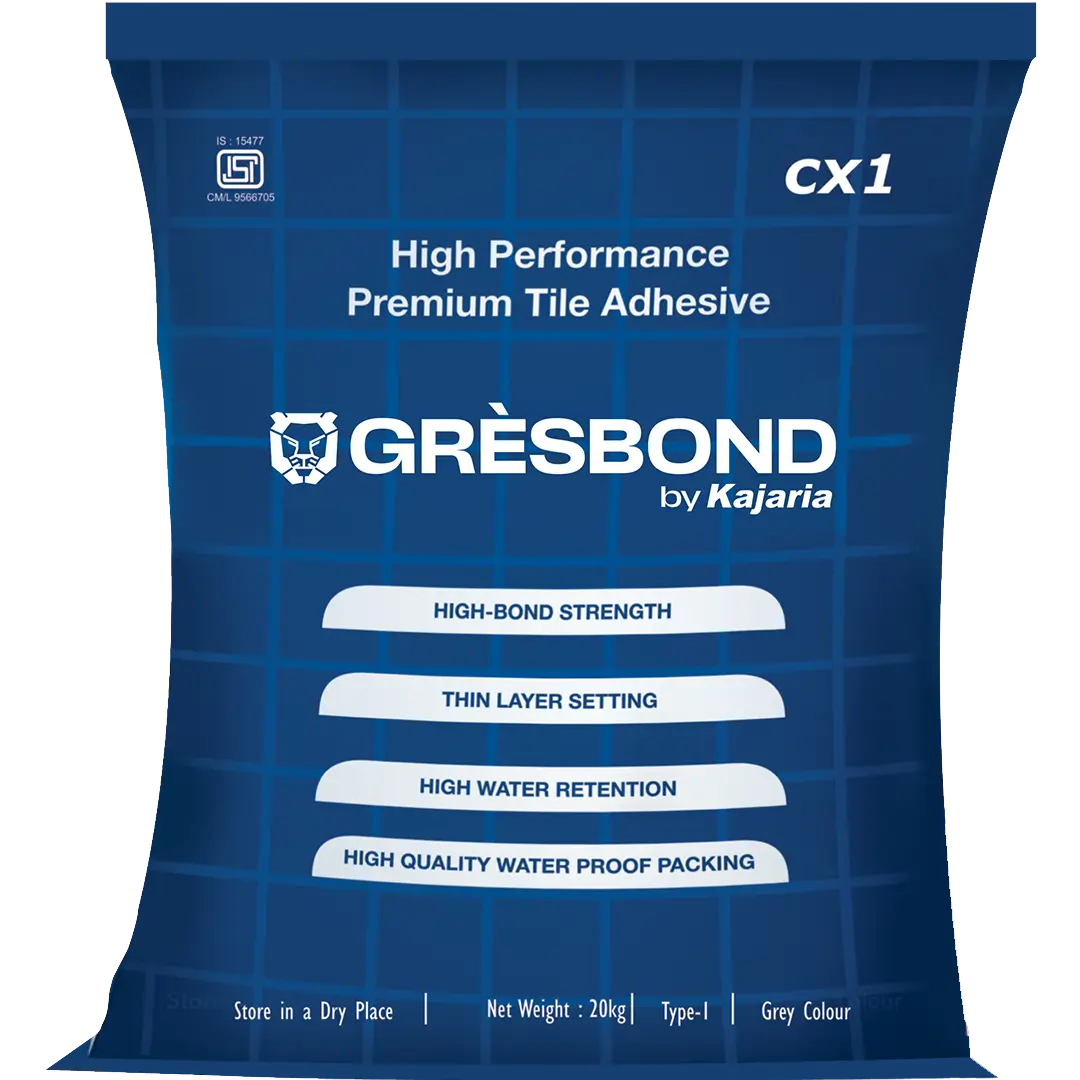
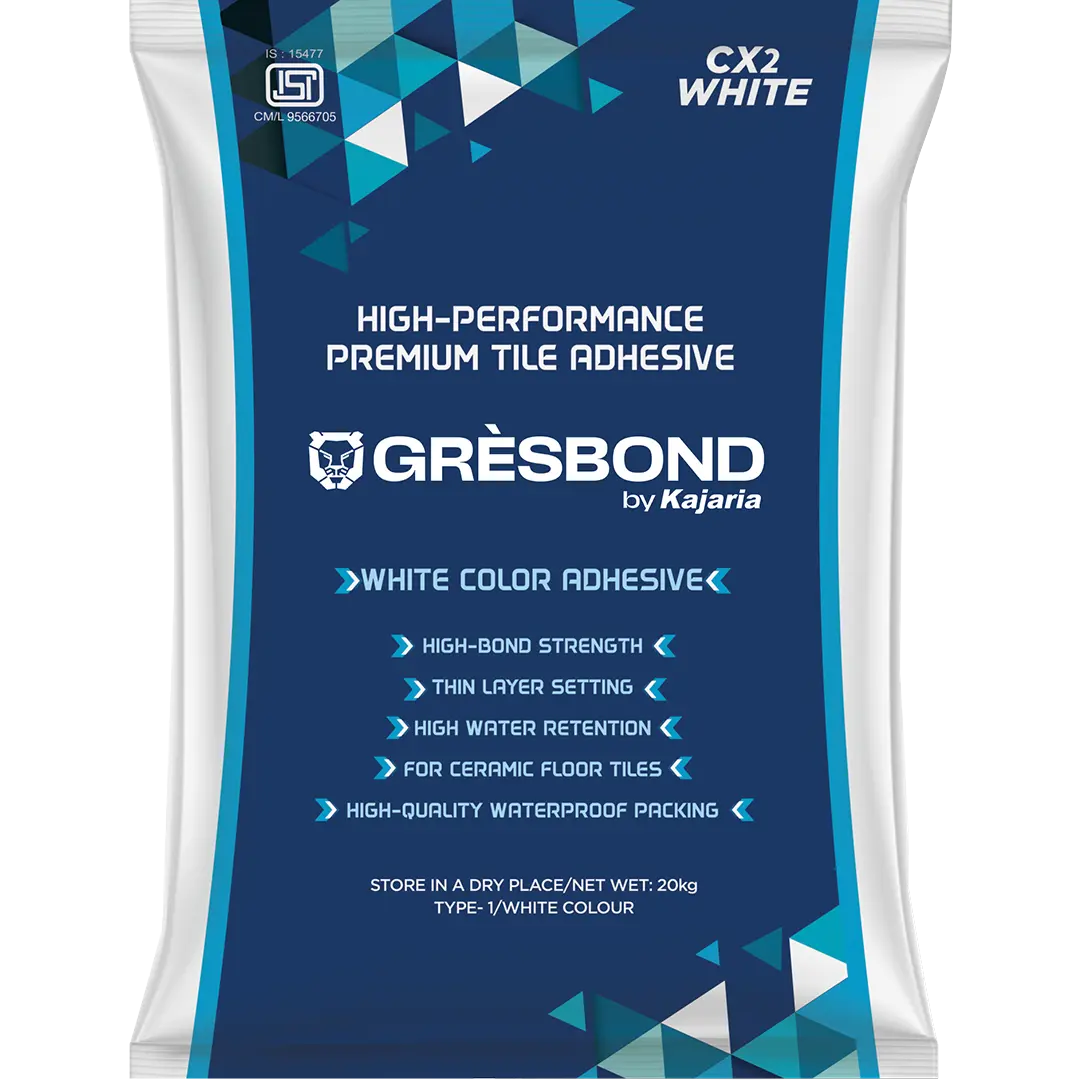
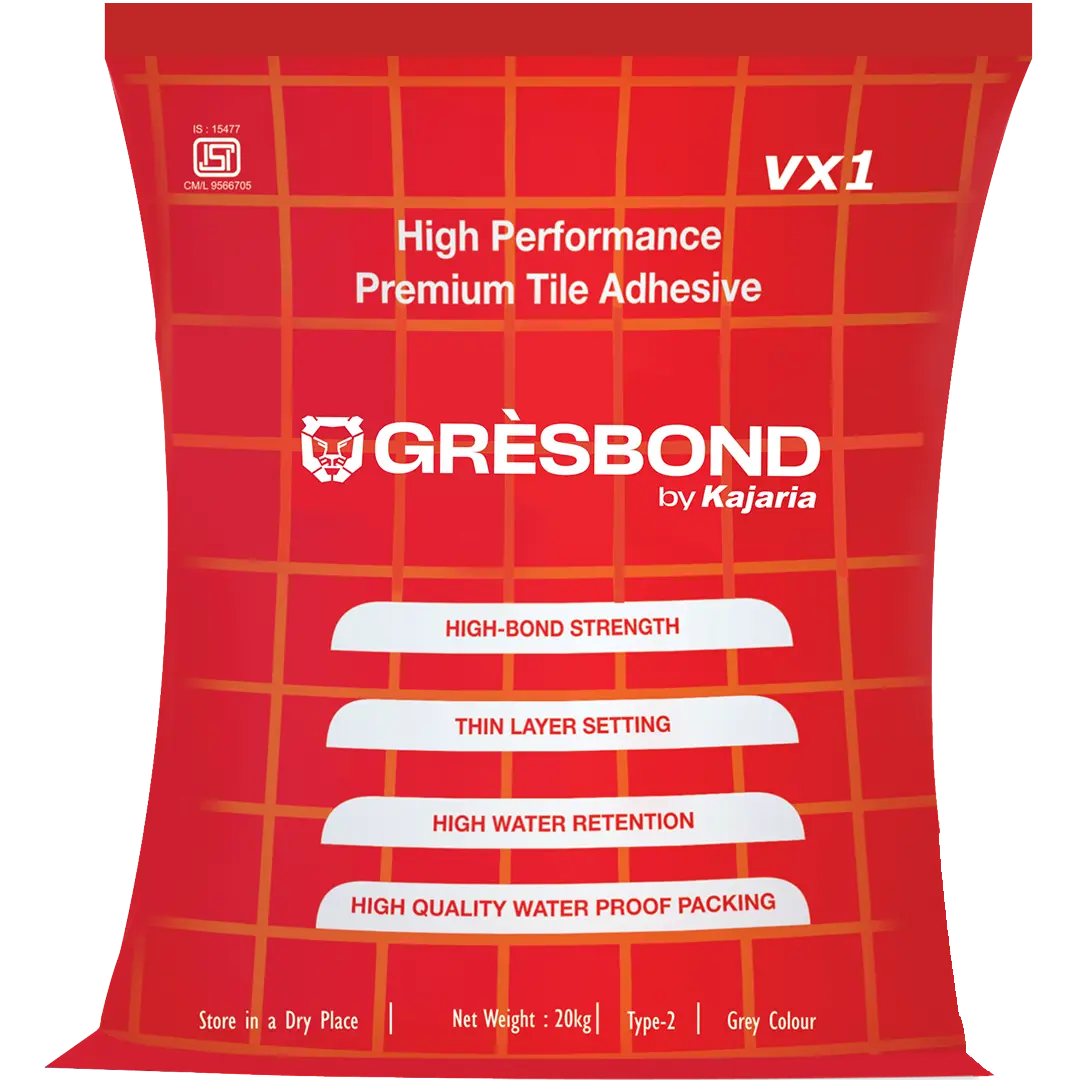
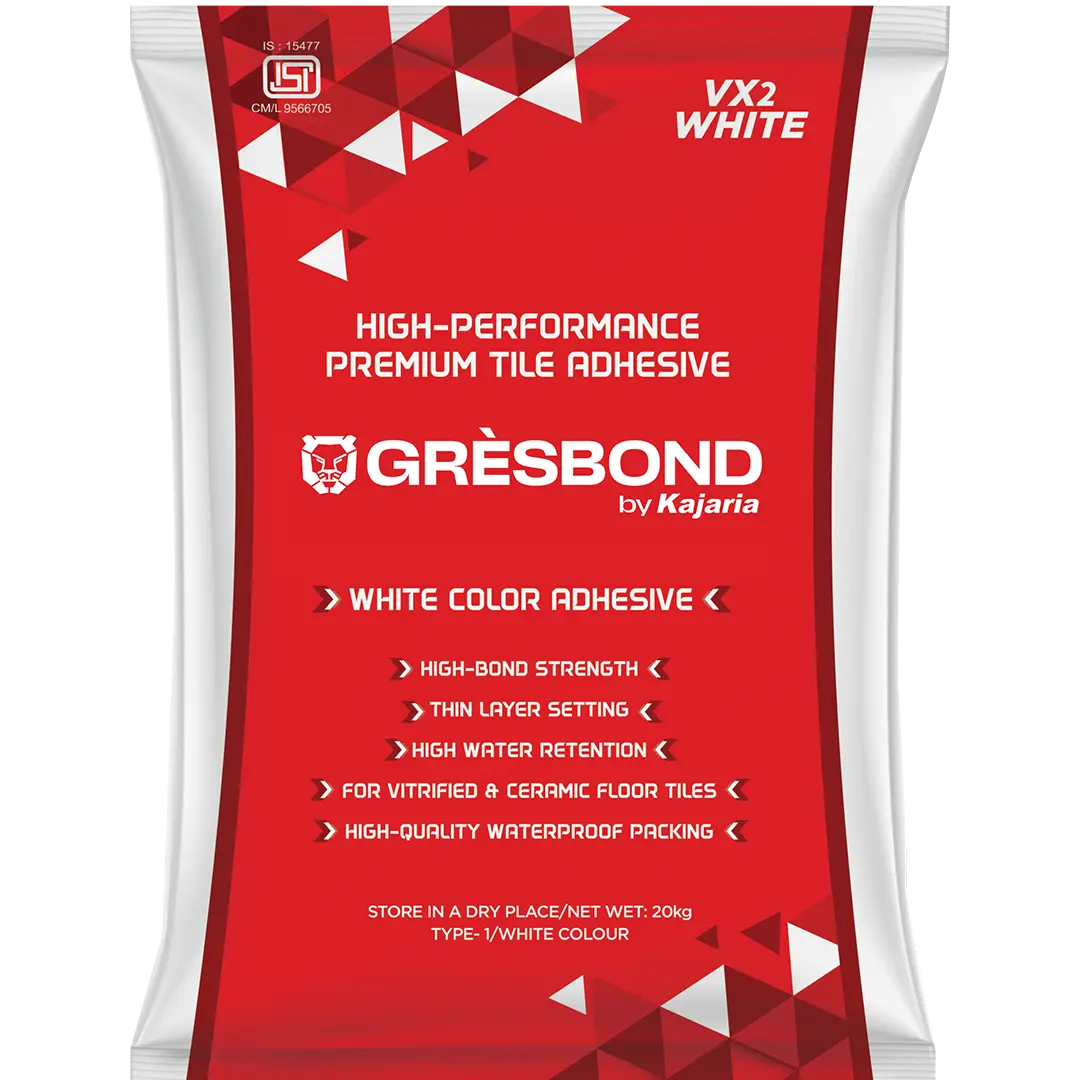
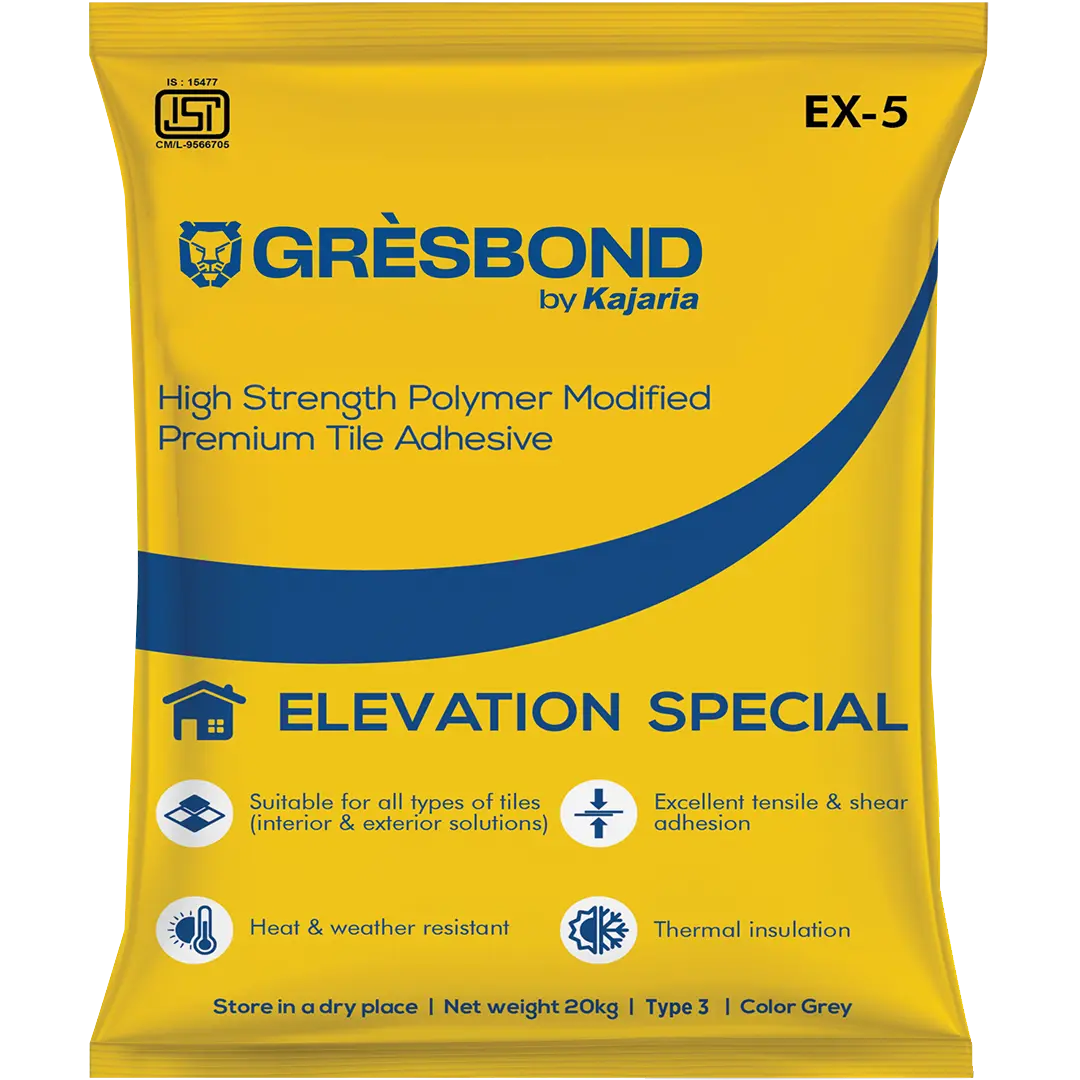
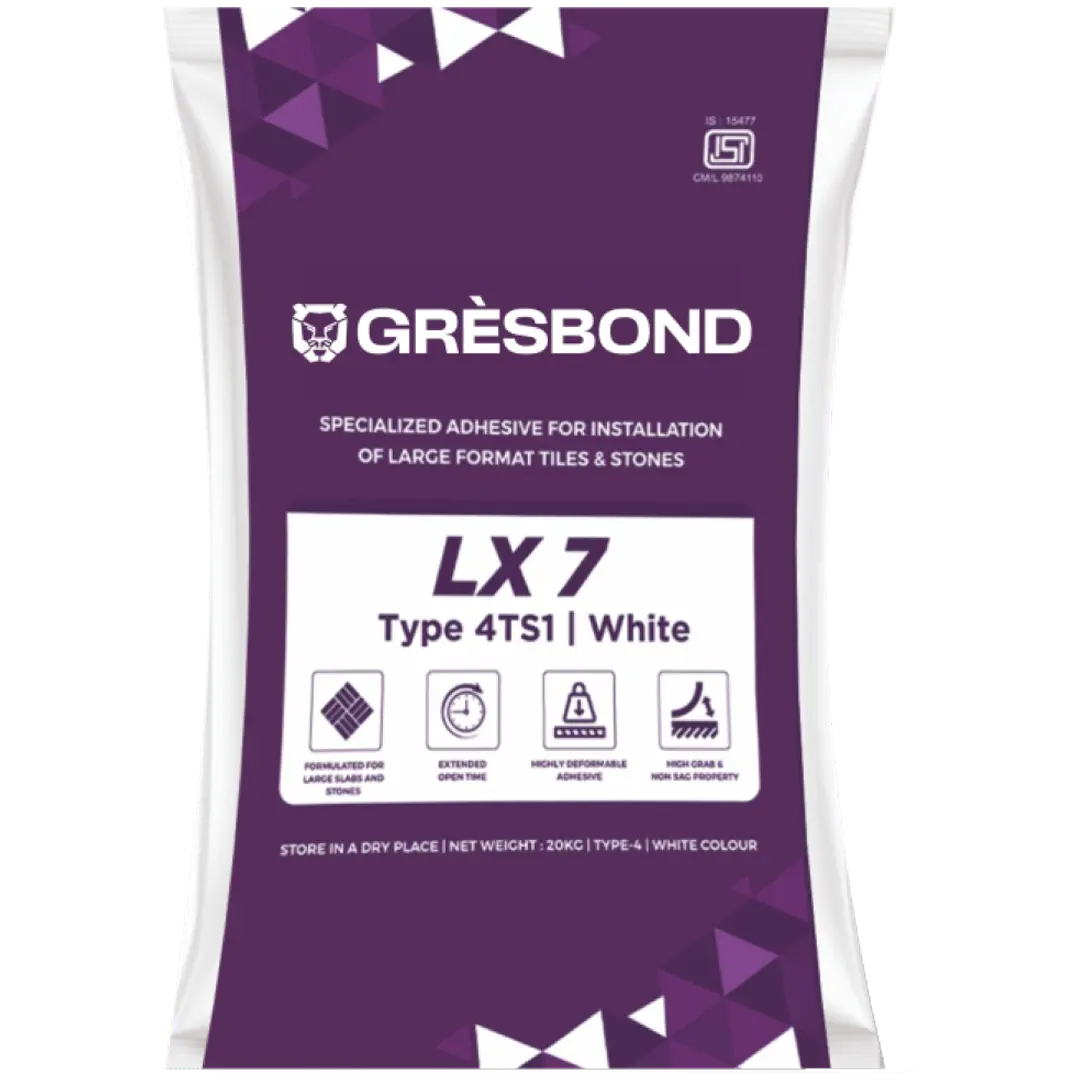
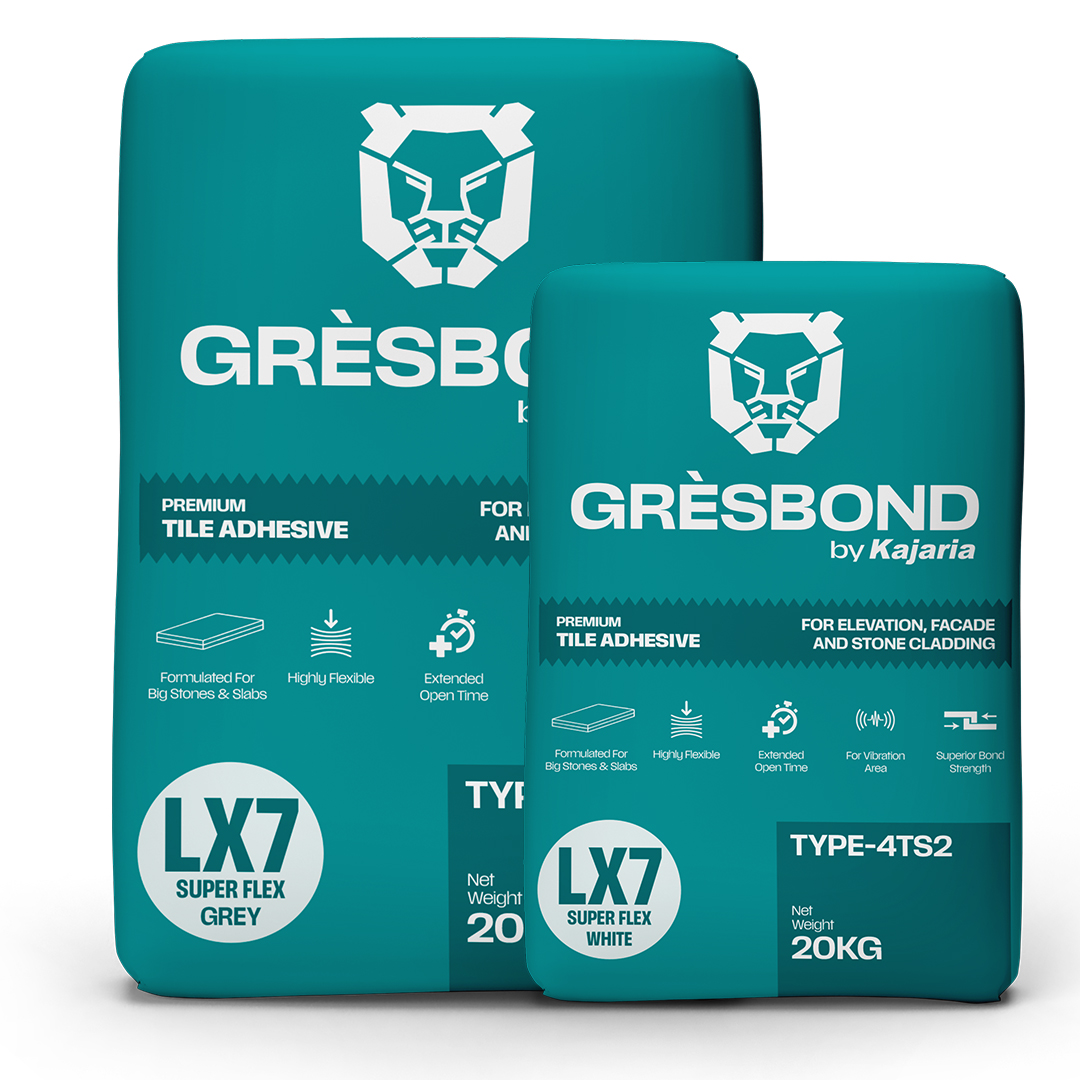
At Gresbond by Kajaria, we believe every project deserves the best foundation. That is why we have a selection of high-quality adhesives which arrive at your projects with the right type of adhesion for your tiles, for a perfectly-cozy bathroom or strongly-used commercial establishment. We want to help you design stunning tiles that will not only look great but also have durability for many years to come.

