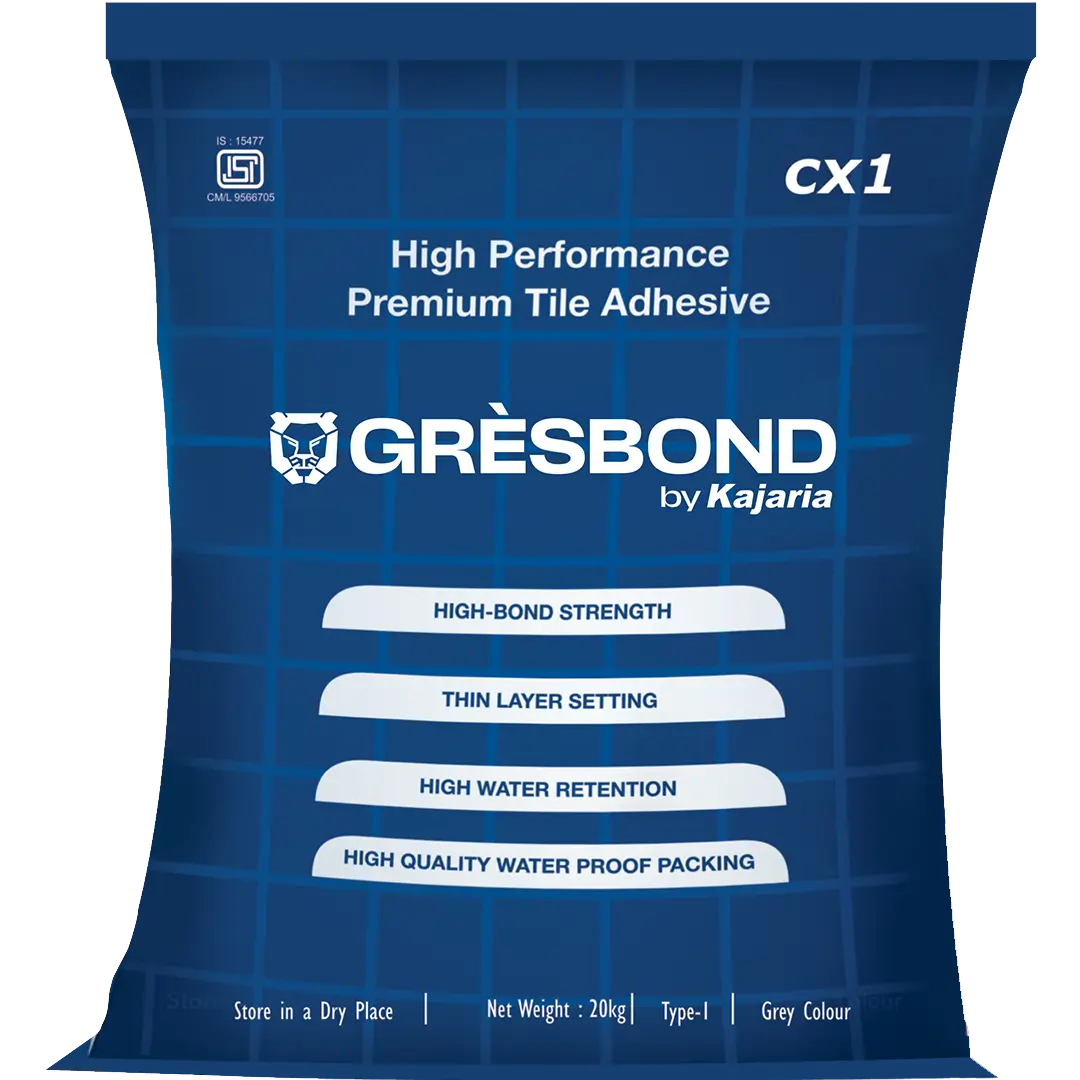
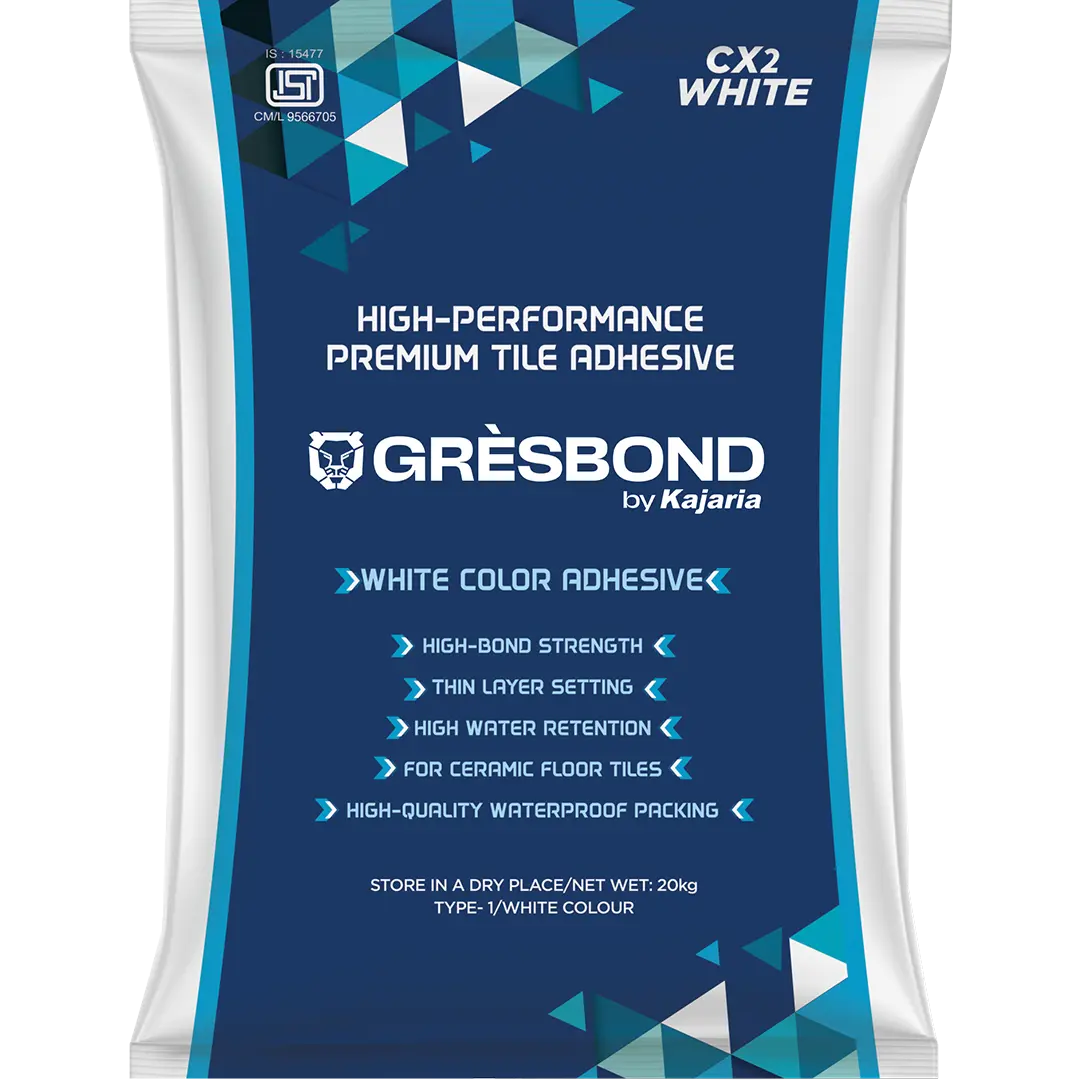
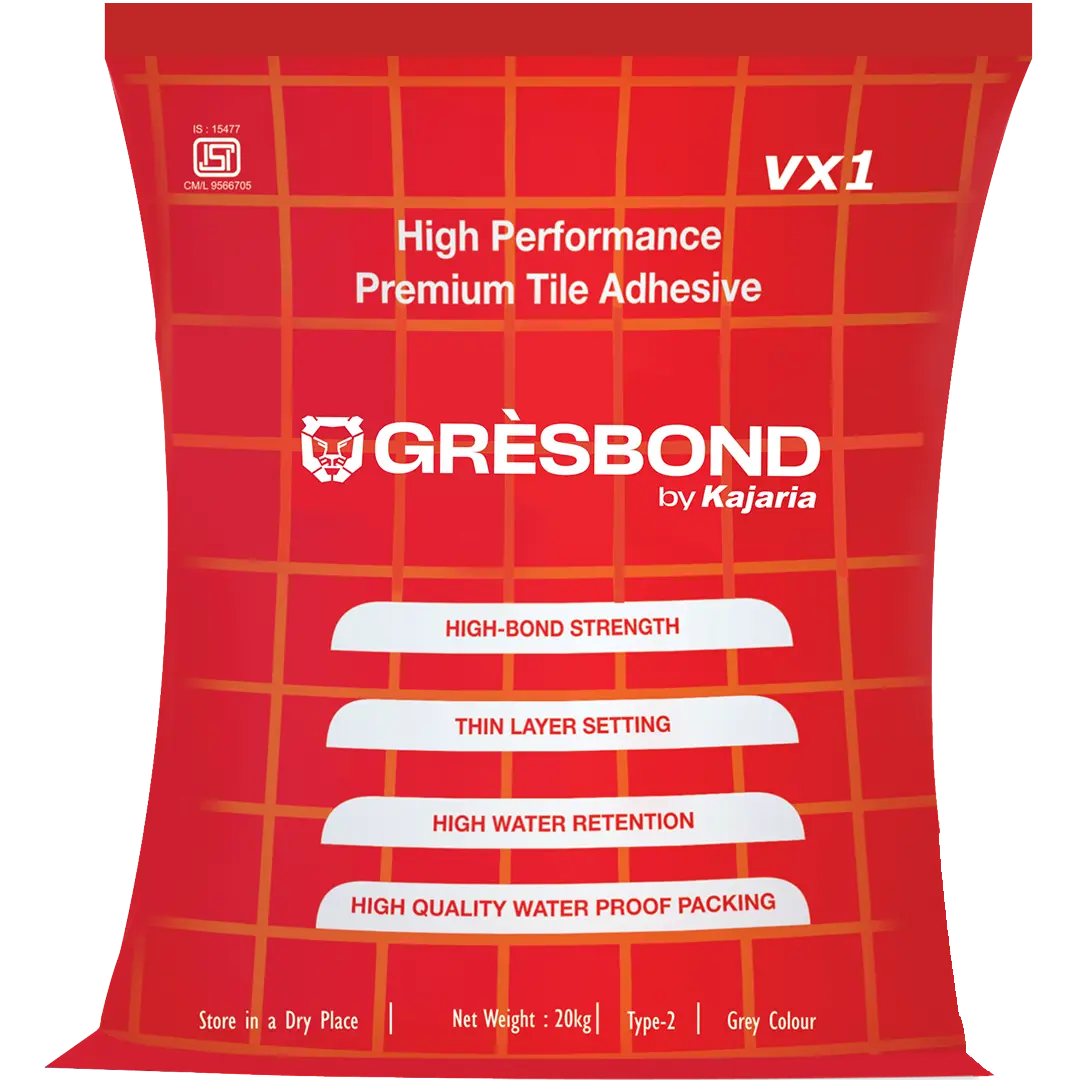
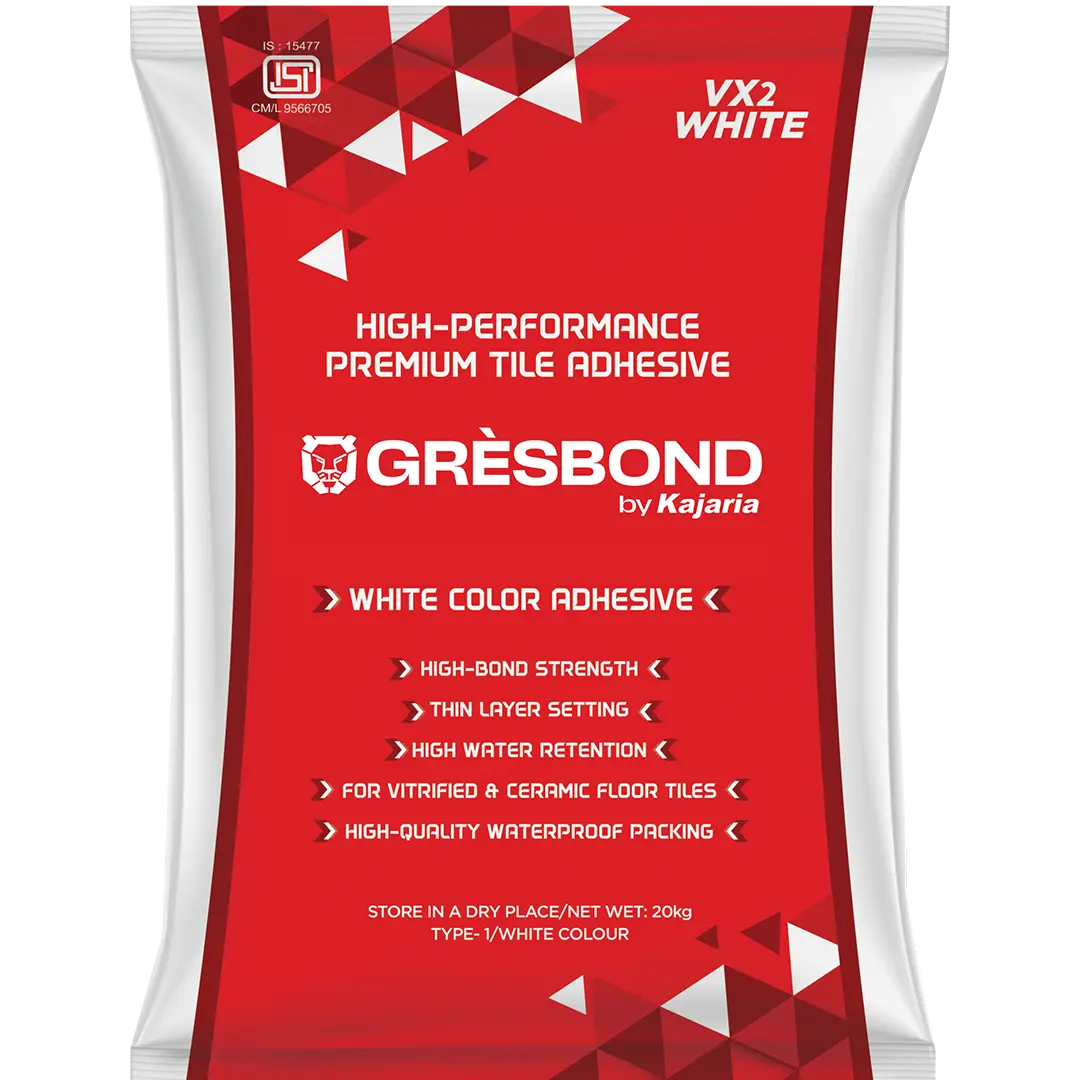
LX-7 Tiles adhesive for concrete Floor
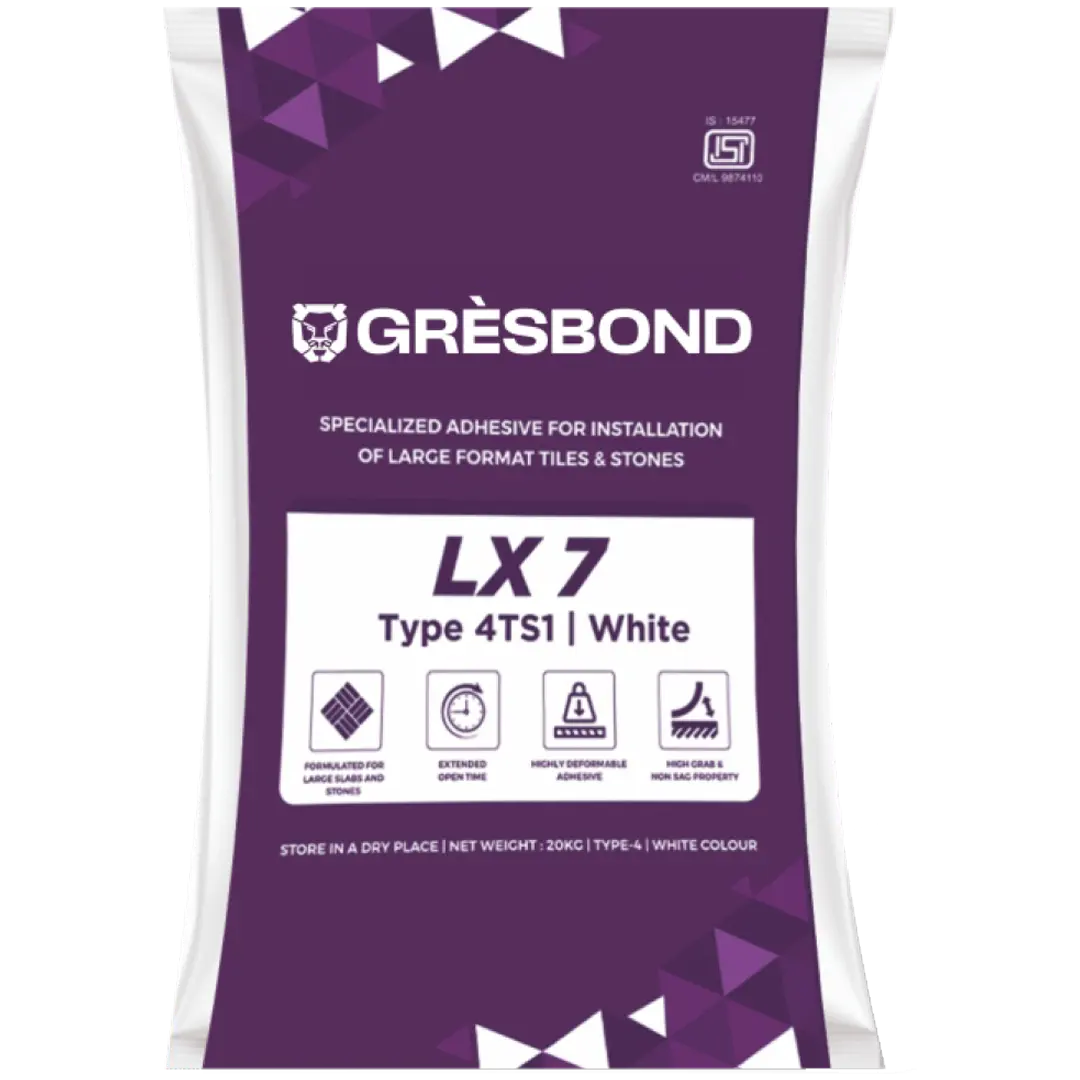
Gresbond High Performance Tile Adhesive
product Description
A highly deformable, polymer-modified tile adhesive for large-format tiles and stones. Suitable for both wall and floor installations.
GRESBOND LX-7 Super Flex is a multipurpose, highly polymer-modified, and highly deformable adhesive designed for the installation of large-format tiles and stones on various substrates. Its superior flexibility accommodates movements in the substrate, ensuring exceptional performance with sag and slump resistance. Suitable for both wall and floor installations with bed thickness up to 15 mm.
Note: : Not recommended for direct use onto gypsum plaster (wall finishes), paint, or metal.
Key Features And Benefits
-
High strength
-
Superior flexibility
-
Extended open time
-
Non-sag/non-slump
-
Crack resistance
-
Impact resistance
-
Meets IS 15477 Type 4/TS1 Adhesive standards
Suitable Substrates
Application
CERTIFICATIONS : IS 15477:2019 - Type: 4 T S1 PACKAGING : 20 kg
COLOUR : Grey & White
TECHNICAL DATA: Performance Properties: LX-7 Adhesive mixed with Water Applicable Standards: IS 15477:2019
COVERAGE :
-
Approx. 55-60 sq. ft. per 20 kg bag (using a 6mm x 6mm notched trowel for a 3mm bed) (Can be used up to a maximum bed thickness of 15 mm). Coverage will vary depending on trowel notch size, type and size of tile, and substrate smoothness and evenness.
-
1.2 kg/m² per mm of thickness (coverage may vary)
reliable
Technical Data
(Type-1)
| Property | Value |
|---|---|
| Mixed Density | 1.6 -1.7 kg/ litre |
| Pot Life | Min. 120 minutes |
| Open Time | 30 minutes Approx. |
| Adjustability | 30 minutes Approx. |
| Setting Time | Approx. 1 Day |
| Full Strength | Approx. 14 Days |
| Tensile Strength | > 1.50 N/mm² |
| Shear Strength | > 1.50 N/mm² |
data
IS Data
| Property: Test method | Requirement | Typical Values |
|---|---|---|
| Tensile Adhesion | ||
| Dry Condition – Annex A (Clause 5.1) | ≥ 1.50 N/mm² | 1.65-1.95 N/mm² |
| Wet Conditions – Annex A (Clause 5.1) | ≥ 1.00 N/mm² | 1.40-1.45 N/mm² |
| Shear Adhesion | ||
| Dry Condition – Annex B (Clause 5.2) | ≥ 1.50 N/mm² | 2.00-2.70 N/mm² |
| Heat Ageing - Annex B (Clause 5.2) | ≥ 1.00 N/mm² | 1.30-1.50 N/mm² |
| Wet Conditions - Annex B (Clause 5.2) | ≥ 1.00 N/mm² | 1.15-1.35 N/mm² |
| Slip Resistance | ||
| Slip Resistance – Annex E (Clause 5.5) | ≤ 0.5 mm | 0.30-0.40 mm |
| Transverse Deformation | ||
| Deformability (S1) (Clause 5.6) | ≥ 2.5 mm, < 5 mm | ≥ 2.55 - 2.65mm |
*Specifications are subject to change without notification. The results shown are typical but reflect the test procedures used. Actual field performance will depend on installation methods and site conditions.*
The Adhesive mortar conforms to IS 15477:2019 - Type 4T S1 Adhesive
Installation
Installation
Instructions
Before you begin
-
Ensure all surfaces are between 50°F (10°C) and 100°F (38°C).
-
Verify the surface is structurally sound, clean, and free of dirt, oil, grease, paint, laitance, concrete sealers, or curing compounds.
-
For very large format tiles: Remove any demolding wax powder on the back of the tile and any fiber mesh present.
Surface preparation
-
Floors: The substrate should not have a variation exceeding 1/8" in 10 feet (3 mm in 3.05 m) or 1/16" in 24 inches (2 mm in 600 mm) when measured from high points.
-
Walls: The prepared substrates should not have a variation exceeding 1/8" in 10 feet (3 mm in 3.05m) when measured from high points.
-
Dampen dry, dusty concrete slabs or masonry and sweep off excess water before installation.
-
New concrete slabs must be damp cured and at least 28 days old before installation.
Suitable bonding surfaces
-
Concrete or plaster that fully cured and absorbs water (tested by sprinkling water).
-
Properly cured lightweight cementitious systems that are dry and meet manufacturer specifications.
-
Cutback adhesive residue must be removed by wet scraping before installation.
Movement joints
-
Install movement joints around the perimeter and other plane changes.
-
Expansion joints in the substrate must be continued through the tile work.
Mixing gresbond lx-7
-
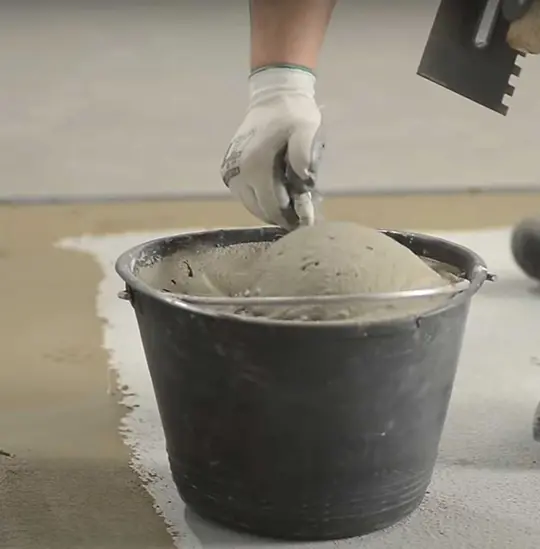
Use clean water and GRESBOND LX-7 powder in a ratio of 5.0-5.5 L water per 20 kg powder. Mix with a low-speed drill mixer until a smooth, paste-like consistency is achieved.
-
Let the mixture stand for 03-05 minutes, then stir again before use.
-
The mixture should hold troweled ridges without slumping when properly mixed.
Applying gresbond lx-7
-
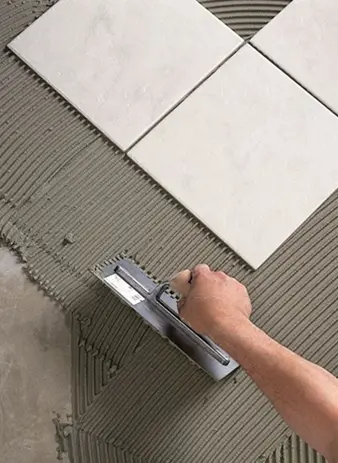
Suitable Trowel: Use a properly sized notch trowel to ensure complete tile coverage.
-
Tile/Stone Application:
Apply a skim coat of mortar to the surface using the flat side of the trowel.
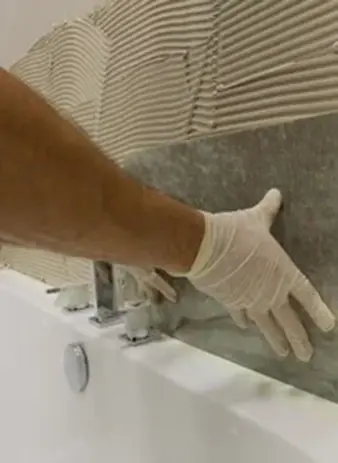
With the notched trowel held at a 45° angle, comb additional mortar onto the surface in one direction.
Press the tile firmly into the mortar, moving back and forth to flatten ridges and ensure maximum coverage.
Adhesive mortar should not be used to fill low spots in the flooring. The mortar thickness should not exceed the specified range.
Back-buttering is mandatory for all large format tiles.
-
Glass Mosaic Tiles:
Apply the adhesive with a scraping motion using a notched trowel with 4mm notches for a 1.5-2 mm bed thickness.
Setthe tiles and gently tap them with a mallet to ensure full bedding.
After the tiles are firm, dampen the face of the mosaic sheets and remove the paper backing.
-
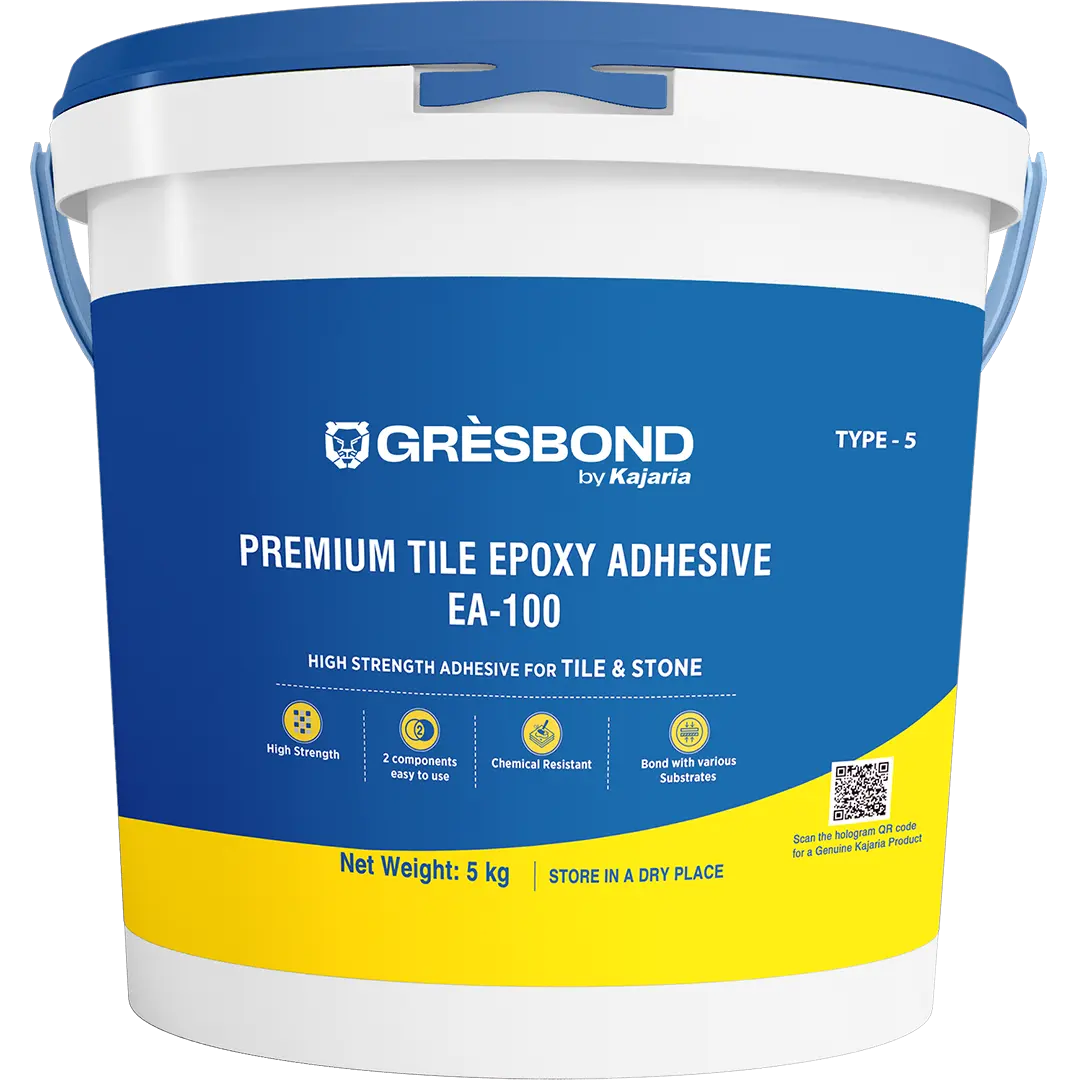
Wood Substrates: Use GRESBOND EA-100 for tile or stone installations.
Additional tips
-
Use a mechanical edge-leveling system to minimize lippage during installation.
-
Lightly tap the tile surface with a rubber mallet to ensure good contact with the mortar bed.
-
Clean tools with water before the material dries.
-
Store GRESBOND LX-7 in a cool, dry area.
Grouting
-
Grout installation should commence after a minimum of 24 hours of curing time at 70°F (21°C).
-
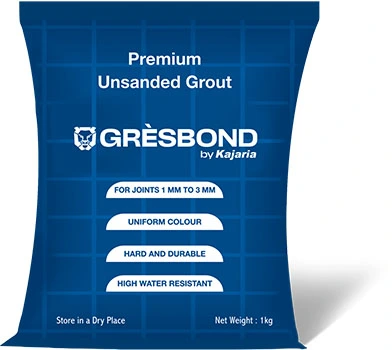
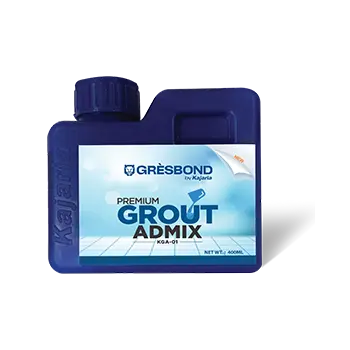
Use Gresbond Unsanded Grout mixed with Gresbond Grout Admix-KGA-01.
-
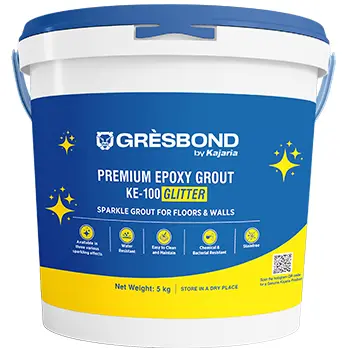
For maximum stain resistance of internal spacer joints applications, use Gresbond KE-100 Stainfree Grout.
Note : GRESBOND LX-7 and grouts are not replacements for waterproofing membranes. Use an appropriate membrane for waterproofing requirements.
Frequently Asked Questions
What is LX7 Tile Adhesive?
LX7 Tile Adhesive, a premium polymer-modified, cement-based adhesive, is your reliable partner for bonding ceramic and concrete floor tiles. It ensures a strong bond, flexibility, resistance to water and temperature changes, and durability, providing peace of mind for your tiling projects.
What is the density of LX7 Tile Adhesive Paste?
It is designed to be user-friendly, making it easy to spread and work with. It provides strong adhesion for years, ensuring your tiling projects are hassle-free.
How do you mix LX7 Tile Adhesive?
Mix LX7 Tile Adhesive by adding the powder to water in the recommended ratio and stirring until a smooth, lump-free paste is formed. For large batches, use a mechanical mixer to ensure consistency.
What makes LX-7 Tile Adhesive different from other cement-based adhesives?
Gresbond offers comprehensive solutions for walls, floors, and roofs for residential and commercial tiling projects. Whether you're renovating your home or working on a large-scale commercial development, Gresbond products, including ceramic, porcelain, natural stone, glass, and mosaic tiles, are designed to meet your tiling needs.
Is LX-7 Tile Adhesive a glue or a cement-based bonding agent?
It is a grey-colored polymer-modified cement-based bonding agent that acts as a strong adhesive, providing the benefits of both traditional cement and modern polymer-enhanced glues.
What is the best way to apply LX-7 Tile Adhesive for optimal results?
Mix using an electric chemical mixer and make a lump-free paste. Use a notched trowel to ensure an even thickness and proper coverage. Apply one coating on the surface and one coating on the tiles. Press the tiles firmly into the adhesive and adjust to maintain alignment and spacing.

