How To Fix Tiles With Tile Adhesive
How To Fix Tiles With Tile Adhesive
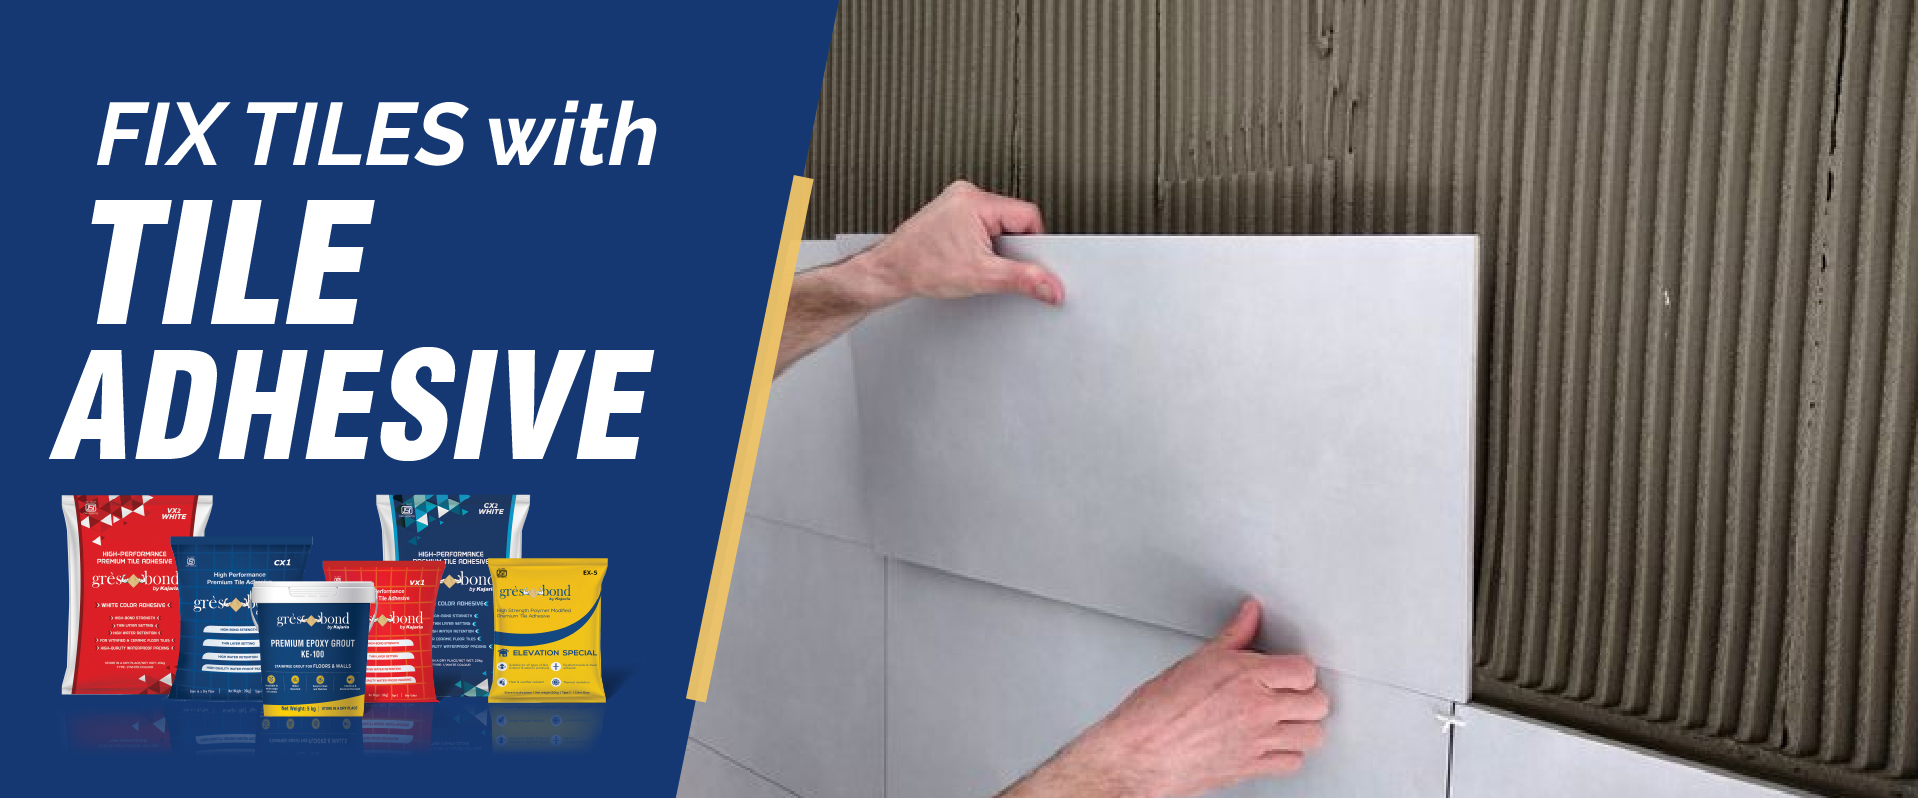
To fix tiles with tile adhesive, start by preparing the substrate, ensuring it's clean, dry, and free of dust or debris. Apply the glue evenly to the substrate using a notched trowel, creating uniform ridges for optimal adhesion. Press the tiles firmly into place, twisting slightly to ensure a good bond. Use tile spacers to maintain consistent spacing between tiles. Allow the adhesive to cure according to the manufacturer's instructions before grouting the tiles. Clean up any excess adhesive immediately with a damp sponge. Once the adhesive is fully cured, the tiles will be securely fixed and ready to withstand years of use.
Simple Steps - How to Fix Tiles With Tile AdhesiveFixing step tiles with tile adhesive requires meticulous attention to detail and proper technique to ensure a secure and long-lasting installation. Prepare the substrate, ensuring it's clean, dry, and debris-free. Select a high-quality tile adhesive suitable for the specific requirements of step tiles and the substrate material. Apply the glue evenly to the back of each tile using a notched trowel, ensuring complete coverage. Press the tiles firmly into place, ensuring they are level and properly aligned with adjacent tiles. Use tile spacers to maintain consistent spacing between tiles and create clean grout lines. Allow the adhesive to cure thoroughly before grouting the tiles to enhance their stability further. Regular maintenance and inspection of the tile work will help ensure its durability and longevity, providing safe and aesthetically pleasing step surfaces for years to come.
What is Tile Adhesive? What Role Does it Play in Tile Fixing?Tile adhesive, or tile adhesive cement, is a specialized bonding material used in tile installation to securely fix tiles to substrates such as floors, walls, or countertops. Composed of cement, aggregates, polymers, and other additives, tile adhesive creates a strong and durable bond between tiles and the substrate.
In tile fixing, tile adhesive plays a crucial role in several aspects:
- Bonding: Tile adhesive forms a strong bond between the tile and the substrate, preventing tiles from shifting or dislodging over time.
- Support: It supports tiles, ensuring they remain level and stable during and after installation.
- Waterproofing: Tile adhesive cement often contains waterproofing agents, enhancing the moisture resistance of tile installations, particularly in wet areas like bathrooms and kitchens.
- Choosing the Right Tile Adhesive for Different Types of Tiles Some tile adhesives offer flexibility, allowing for expansion and contraction of the substrate without compromising the bond between tiles.
- Ease of Application: Tile adhesive is easy to mix and apply, making tile installation more efficient and reducing the risk of errors.
Overall, tile adhesive is essential for ensuring tiles' successful and long-lasting installation, providing stability, durability, and aesthetic appeal to tiled surfaces.
Choosing the Right Tile Adhesive for Different Types of TilesSelecting suitable tile adhesive is crucial for successful tile installation, especially when working with different types of tiles, like sticker tiles for floor tiling. Here's how to select the appropriate adhesive:
- Consider Tile Material: Different types of tiles require specific adhesives. Sticker tiles, which are typically made of vinyl or PVC, require a flexible adhesive to accommodate any movement or flexing of the tiles
- Evaluate Substrate: Assess the substrate where the tiles will be laid. The substrate should be clean, level, and free of any cracks or unevenness for floor tiling. Use a suitable adhesive that adheres well to the substrate material, whether concrete, plywood, or existing tiles
- Check Adhesive Properties: Look for adhesives with properties tailored to your specific tile installation needs. For sticker tiles, opt for adhesives with excellent bond strength, flexibility, and moisture resistance to ensure long-term durability
- Read Manufacturer Recommendations: Follow the manufacturer's recommendations for the tiles and adhesive. They often provide guidelines on the type of adhesive suitable for their tiles, ensuring compatibility and optimal performance
- Test Compatibility: Before full-scale installation, perform a compatibility test by applying a small amount of adhesive to a test area. This helps ensure that the adhesive adheres well to the tiles and substrate without causing any damage or staining
You can ensure a successful and long-lasting tile installation by considering these factors and choosing the suitable adhesive tailored to sticker tiles and floor tiling requirements
Correct Application of Tile Adhesive to Get the Best Tile Fixing ResultsThe correct application of tile adhesive is crucial for achieving the best tile-fixing results. Follow these steps for optimal performance:
- Surface Preparation:Ensure the substrate is clean, dry, and free of dust, grease, or debris. Repair any cracks or uneven areas before applying the adhesive.
- Choose the Right Adhesive:Select a tile adhesive suitable for your tile type, substrate, and application area. Consider factors such as flexibility, water resistance, and setting time.
- Mixing:Follow the manufacturer's instructions for mixing the adhesive. Use clean water and mix to the correct consistency to achieve proper adhesion.
- Application:Apply the adhesive evenly to the substrate using a notched trowel, creating ridges of consistent height. Work in small sections to prevent the adhesive from drying out before laying the tiles.
- Tile Placement:Press the tiles firmly into the adhesive, twisting slightly to ensure complete contact and proper bonding. Use tile spacers to maintain uniform spacing between tiles.
- Adjustment:Adjust the position of each tile as needed to ensure proper alignment and spacing. Wipe off any excess adhesive from the tile surfaces immediately to prevent staining.
- Curing:Allow the adhesive to cure fully per the manufacturer's instructions before grouting. Avoid walking on or disturbing the tiles during the curing process.
- Grouting:Once the adhesive has cured, grout the tiles to fill the gaps between them, further securing them and providing a finished look.
By following these steps and paying attention to detail during the application process, you can achieve the best tile-fixing results with optimal adhesion, stability, and longevity.

